
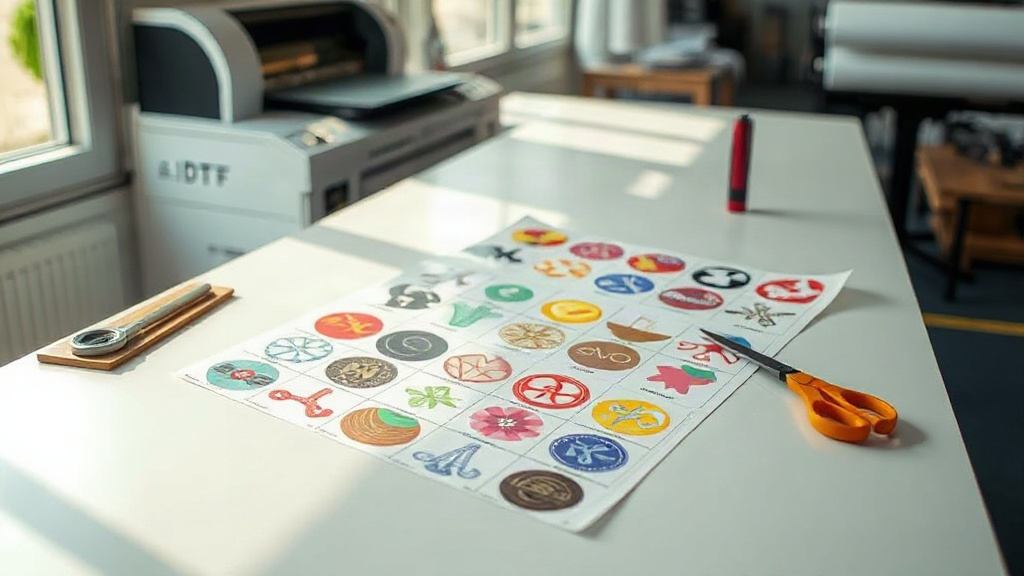
If you're in the custom apparel business, you've likely heard about DTF printing. It's a game-changer for transferring vibrant designs onto fabrics. But as your order volume grows, printing individual transfers can become time-consuming and costly. That's where DTF gangsheets come in. These sheets allow you to print multiple designs in one go, saving you time, money, and effort. In this guide, we'll dive deep into what gangsheets are, how to create them, and why they're essential for any serious DTF printer.
What is a DTF Gangsheet?
A DTF gangsheet is a single sheet of transfer film that contains multiple designs arranged together. Instead of printing each design separately, you nest them onto one sheet, maximizing the use of the film. This approach is similar to gang printing in offset printing, where multiple jobs are combined on one press run. For DTF, it means you can produce a batch of transfers in one print cycle, then cut them apart for application.
The benefits are immediate: less film waste, fewer print cycles, and significant time savings. Plus, you can mix different sizes and shapes on the same sheet, making it perfect for varied orders.
Why Use DTF Gangsheets?
Let's break down the advantages:
- Cost efficiency: Film and ink are expensive. By nesting designs, you use less of both. A well-planned gangsheet can reduce material costs by up to 30%.
- Time savings: Printing one sheet takes almost the same time as printing a single design. So, if you fill a sheet with 20 designs, you've just saved 19 print cycles.
- Consistency: When you print multiple designs together, they share the same settings, ensuring consistent color and quality across the batch.
- Scalability: As your business grows, gangsheets allow you to handle larger orders without upgrading equipment or hiring more staff.
How to Create a DTF Gangsheet
Creating a gangsheet requires some planning and the right tools. Here's a step-by-step guide:
1. Gather Your Designs
Collect all the designs you need to print. They can be different sizes, but keep in mind the width of your DTF printer's film. Common film widths are 13", 17", and 24". Ensure your designs fit within the printable area.
2. Use Gangsheet Builder Software
You can manually arrange designs in graphic software like Photoshop or Illustrator, but dedicated gangsheet builders (like those offered by some DTF suppliers) automate the process. They optimize nesting, minimize gaps, and even add cut lines. If you're doing it manually, create a canvas at your film's width and start placing designs with minimal spacing.
3. Optimize Nesting
Nesting is the art of fitting shapes together like puzzle pieces. Rotate designs if needed, but keep in mind that some designs have a direction (e.g., text) and shouldn't be rotated. Aim for at least 90% coverage to maximize efficiency.
4. Add Registration Marks
If you're using a cutter, add registration marks so the machine can detect where to cut. These are small circles or crosses placed at the corners of each design.
5. Print and Cure
Print the gangsheet using your DTF printer, apply hot melt powder, and cure it. Then, you can either cut by hand or use a cutter. For hand cutting, a good pair of scissors or a rotary cutter works fine.
Tips for Efficient Gangsheet Printing
To get the most out of your gangsheets, follow these expert tips:
- Plan ahead: Group designs by size and color to reduce ink changes and optimize film usage.
- Leave a small gap: Leave about 1-2 mm between designs to make cutting easier and avoid color bleeding.
- Test your layout: Before printing a full sheet, do a test print on plain paper to check placement and sizing.
- Keep a library: Save your gangsheet layouts for repeat orders. This saves time when a customer reorders.
- Use quality film: Cheap film can cause ink smearing or poor transfer. Invest in reputable DTF film.
Common Mistakes to Avoid
Even experienced printers make these mistakes:
- Overcrowding: Placing designs too close can cause ink to bleed or make cutting difficult.
- Ignoring grain direction: DTF film has a grain; printing against it can affect adhesion.
- Forgetting to mirror: DTF transfers must be mirrored before printing, or your design will be backwards.
- Not accounting for shrinkage: Some fabrics shrink after heat press, so test first.
DTF Gangsheet vs. Individual Transfers
Let's compare the two approaches:
- Cost: Gangsheets win. You use less film and ink per design.
- Time: Gangsheets win. One print cycle for many designs.
- Flexibility: Individual transfers win. You can print on demand without planning.
- Waste: Gangsheets win. Less waste means more profit.
For high-volume shops, gangsheets are a no-brainer. For occasional printers, individual transfers might be simpler.
Frequently Asked Questions
What is the maximum size for a DTF gangsheet?
The maximum size depends on your printer's width and the roll length. Common widths are 13", 17", and 24", and you can print up to 100 feet long. However, practical limits are set by your cutter and handling.
Can I mix different designs on one gangsheet?
Absolutely. You can mix any designs as long as they fit within the sheet. Just ensure they all require the same printing settings (e.g., white ink layer).
How do I cut a DTF gangsheet?
You can cut by hand with scissors or a rotary cutter, or use a vinyl cutter with registration marks. For large batches, a cutter is faster and more precise.
Do I need special software for gangsheets?
Not necessarily. You can use graphic design software, but dedicated gangsheet builders save time and optimize nesting. Some DTF suppliers offer free tools.
How long can I store a DTF gangsheet?
Store in a cool, dry place away from direct sunlight. Properly stored, transfers can last up to 6 months. Always test before use.
Conclusion
DTF gangsheets are a powerful tool for any DTF printer looking to scale up. They reduce costs, save time, and improve consistency. By following the tips in this guide, you can create efficient gangsheets that boost your bottom line. Start experimenting with gangsheets today and see the difference in your workflow.