
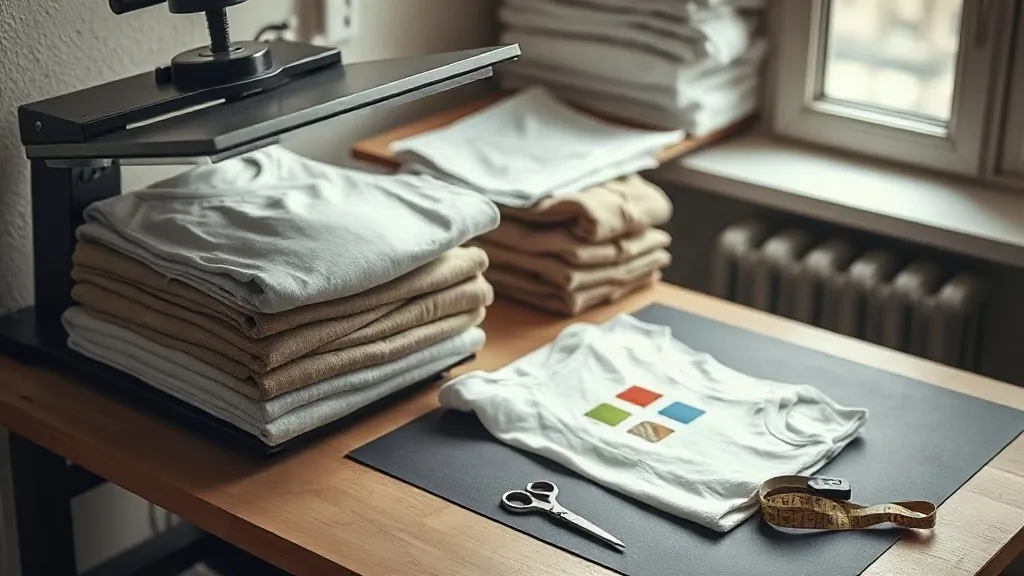
If you have ever pulled a freshly pressed custom tee out of the box and watched the print crack at the shoulder seam two washes later, you already know that the fabric matters as much as the artwork. That is the whole reason shaka wear blanks have become a quiet favorite among small print shops, streetwear labels, and anyone who prints in short runs. The brand built its reputation on heavyweight cotton basics that feel substantial in the hand and, more importantly, hold their shape through repeated heat pressing. This guide walks through why these blanks pair so well with direct-to-film transfers, how to plan a run without wasting material, and where a tool like a DTF Gangsheet Builder fits into a smoother workflow.
What Makes Shaka Wear a Solid Base for DTF Transfers
Direct-to-film printing works by transferring a printed film onto fabric with heat and pressure. The adhesive layer bonds to the textile, so the surface texture and fiber content of the shirt decide how clean the final result looks. A loose, thin jersey knit lets the transfer sit on top of an uneven surface, which is where you get that slightly plastic sheen and early edge lifting. Heavier cotton knits give the adhesive something stable to grip.
Shaka Wear leans toward 6 to 7 ounce cotton and cotton-blend constructions depending on the model, with boxy cuts and a dense hand feel. In practice, that density means fewer fibers poking through the transfer after pressing. The fabric also tends to tolerate the 300 to 320 degree Fahrenheit range most DTF powders and films call for without scorching, as long as you use a pressing mat and do not hold the heat too long on one spot.
Fabric weight and print durability
Heavier blanks absorb the pressure more evenly. When you press a transfer onto a 7 ounce tee, the heat plate compresses the fabric slightly and the adhesive cures into a flatter bond. On a 4 ounce shirt, the same pressure can push the knit into a stretched position that relaxes after washing, and that relaxation is what pulls at the edges of the film. If you are printing for a team, a brand drop, or a retail shelf, the difference in longevity is noticeable after five or six wash cycles.
Cut and silhouette for modern drops
The boxy, slightly oversized fit that runs through much of the shaka wear lineup suits the current streetwear silhouette. That matters for print placement. A wider body gives you room to run a large back graphic without crowding the side seams, and a dropped shoulder creates a flatter canvas for chest hits. When you plan artwork, measure the printable area on an actual blank rather than guessing from a size chart, because the relaxed cut changes where the seams land.
Planning a Print Run Around Heavyweight Blanks
Most small shops do not print one shirt at a time. They print a batch: a few sizes, a couple of colorways, maybe a logo on the sleeve. That is where a DTF Gangsheet Builder earns its keep. Instead of exporting individual files and hoping the layout leaves enough bleed, you assemble every design onto a single sheet at the sizes you actually need, then send it to print as one job. Fewer setups, less film waste, and a much lower chance of a mislabeled transfer ending up on the wrong size shirt.
Sizing transfers to match the blank
A common mistake is printing the same graphic at one size for every shirt. A design that looks right on a medium can look small and lost on a 2XL with a wider chest. A practical rule that many printers follow is to scale the print width roughly with the garment width, then check the placement on a physical blank. Keep a simple reference sheet with print dimensions for each size you sell, and reuse it every run. It saves a lot of second-guessing.
Grouping colors and films efficiently
White ink behaves differently from color ink on film, and gangsheets let you group jobs by press settings. If half your run is a dark garment design with a white underbase and the other half is a light garment design with no underbase, splitting them into two sheets keeps your press temperature and dwell time consistent. Mixing them on one sheet is fine for saving film, but you will want a clear note on the sheet so whoever presses it knows which section needs which settings.
Pressing Technique That Protects the Blank
Even great blanks can be ruined by a rushed press. A few habits make a real difference across a full production day:
- Pre-press the garment for three to five seconds to release moisture. Cotton holds ambient humidity, and trapped moisture is a leading cause of poor adhesion.
- Use medium to firm pressure rather than maximum. Too much pressure flattens the knit and can push adhesive into the weave unevenly.
- Peel cool or cold for most films, unless your supplier specifically recommends a hot peel. Cold peel reduces stretching of the carrier and keeps fine details crisp.
- Cover the transfer with a protective sheet or parchment for the final press so the top film does not stick to your heat plate.
- Let the garment rest flat and cool completely before folding. Folding a warm print can create permanent creases in the adhesive layer.
Write your settings down for each blank and film combination you use. Once you find a dwell time that works on a specific heavyweight tee, treat it as your baseline and adjust only when you change film brands or fabric weight.
Wash testing before you ship
Before a full run leaves the shop, wash one sample inside out in cold water and tumble dry low. Check the edges of the transfer for lifting, look at the ink for cracking, and feel the surface for stiffness. A single test shirt costs you almost nothing and catches problems while you can still fix them. Keep the sample labeled with the date, the blank model, and the press settings so you can compare against future runs.
Choosing Between Blanks, Budget, and Brand Feel
Not every job needs a heavyweight tee. For a giveaway or a one-time event, a lighter blank keeps costs down and most people will not notice the difference. For anything meant to be worn regularly, sold, or used as brand merchandise, the heavier construction tends to pay for itself in fewer complaints and better word of mouth. It helps to think of the blank as part of the product rather than a container for the print.
Color also plays a role. Dark heavyweight cotton shows white underbase clearly, so registration and edge sharpness matter more. Light colors hide small imperfections but can make a white underbase look chalky if the press is too hot. Order a couple of test blanks in the exact colors you plan to sell before committing to a large order, and press the same design on each to compare.
Frequently Asked Questions
Do Shaka Wear blanks work well with DTF printing?
Yes, particularly the heavier cotton models. The dense knit gives the adhesive a stable surface, which reduces edge lifting and cracking compared with very thin, loose jersey fabrics. Always pre-press to remove moisture and follow the film manufacturer's temperature guidance.
What temperature should I use when pressing DTF onto heavyweight cotton?
Most films call for roughly 300 to 320 degrees Fahrenheit with medium to firm pressure and a dwell time around 10 to 15 seconds, followed by a cold peel and a short second press. Treat those as a starting point and confirm with your specific film supplier, since formulations vary.
How do I lay out multiple designs on one gangsheet?
Group designs by press settings first, then by garment size. Place larger back prints along one edge and smaller chest or sleeve designs in the remaining space, leaving a small margin between each so cutting is easy. A gangsheet builder handles the spacing automatically and exports a single print-ready file.
Will DTF prints crack on heavyweight tees after washing?
Cracking usually comes from incomplete curing, too much pressure during pressing, or washing with high heat. Press at the correct temperature, use a protective sheet on the final press, and wash inside out in cold water. A properly applied transfer on a dense cotton blank typically holds up well over many cycles.
How many blanks should I order for a first run?
Order enough to cover your expected sales plus a small buffer for misprints and size exchanges, but avoid stockpiling colors you have not tested. A first run of a few dozen units across two or three sizes lets you validate demand and print quality before scaling up.