
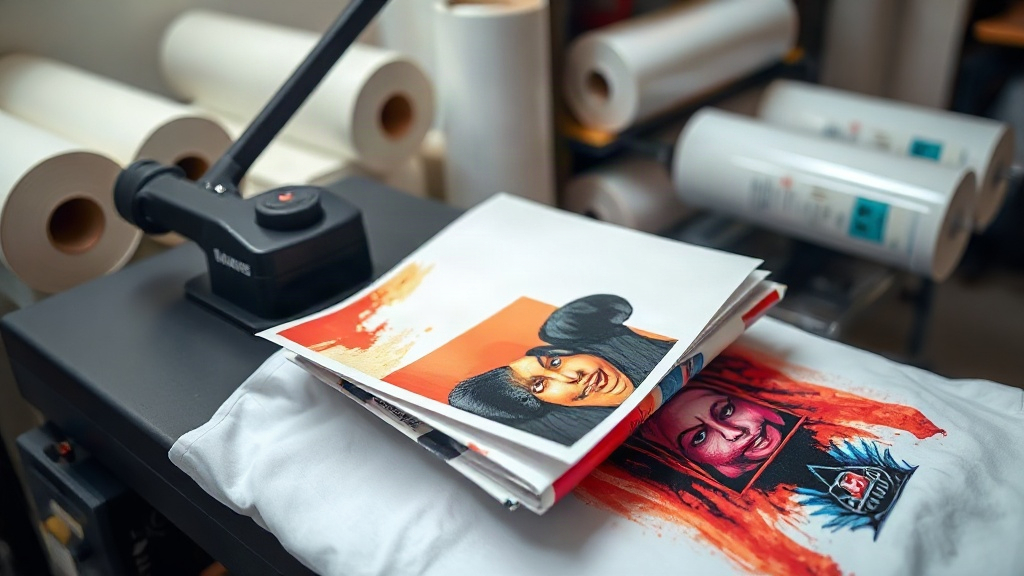
When I first heard about DTF printing, I was skeptical. Could a relatively new technology really deliver the same vibrancy and durability as screen printing or DTG? After months of testing, I can confidently say yes. DTF (Direct to Film) printing has revolutionized how I create custom apparel, and in this guide, I'll share everything I've learned so you can avoid the mistakes I made.
What Exactly Is DTF Printing?
DTF printing is a digital printing method where your design is printed onto a special PET film using water-based pigments, then coated with a hot-melt adhesive powder. Once the powder is cured, the transfer is ready to be applied to fabric using a heat press. Unlike DTG, which prints directly onto the garment, DTF allows you to print on a wide range of materials, including cotton, polyester, blends, and even leather. This versatility is why DTF has become a go-to for small businesses and hobbyists alike.
Why Choose DTF Over Other Printing Methods?
I've tried screen printing, vinyl, and DTG, and each has its place. But DTF stands out for several reasons:
- No color limitations: Unlike screen printing, you can print full-color, photographic designs without setup fees.
- Works on multiple fabrics: From 100% cotton to 50/50 blends, DTF adheres well without needing pre-treatment.
- Durability: When applied correctly, DTF transfers withstand dozens of washes without fading or cracking.
- Cost-effective for short runs: No minimums, so you can print one-offs or small batches profitably.
That said, DTF isn't perfect. The feel of the transfer is slightly thicker than DTG, and you need a reliable heat press. But for most applications, the pros far outweigh the cons.
Step-by-Step DTF Printing Process
1. Design Preparation
Start with a high-resolution image (300 DPI) in CMYK color mode. DTF printers use CMYK plus white ink, so ensure your design has transparent backgrounds where needed. I recommend using software like Photoshop or GIMP to prepare your file. Remember, the white ink layer is printed underneath the colors, so your design should have a white base for opacity on dark garments.
2. Printing the Transfer
Load your DTF printer with PET film, ensuring the coated side faces the printhead. Print your design. The printer will lay down white ink first, then CMYK. After printing, you'll have a wet, slightly tacky transfer.
3. Applying Adhesive Powder
While the ink is still wet, sprinkle hot-melt adhesive powder evenly over the design. Shake off excess powder. This powder is what will bond the transfer to the fabric.
4. Curing the Powder
Place the film in a curing oven or under a heat gun at 320°F (160°C) for 2-3 minutes until the powder melts and becomes glossy. Alternatively, you can use a heat press with the film placed between two sheets of parchment paper for about 10 seconds at 320°F. Be careful not to over-cure, as it can make the transfer brittle.
5. Transferring to Fabric
Set your heat press to 320°F (160°C) with medium pressure. Pre-press the garment for 5 seconds to remove moisture. Place the transfer on the fabric, cover with parchment paper, and press for 15-20 seconds. Let it cool completely before peeling the film. For a softer feel, peel while warm (hot peel), but cold peel often gives better detail. I prefer cold peel for intricate designs.
Common Mistakes and How to Avoid Them
Even with the best equipment, things can go wrong. Here are pitfalls I've encountered and how to fix them:
- Insufficient powder: If you don't apply enough adhesive powder, the transfer may peel. Ensure full coverage.
- Uneven pressure: A heat press with uneven pressure leads to partial transfers. Check your press's calibration.
- Wrong temperature: Too hot and the film shrinks; too cold and the adhesive doesn't activate. Use an infrared thermometer to verify.
- Not pre-pressing: Moisture in the fabric can cause the transfer to lift. Always pre-press.
Wash Care for DTF Prints
To keep your DTF prints looking new, follow these guidelines:
- Wait 24 hours before washing.
- Turn the garment inside out.
- Machine wash cold (max 40°C/104°F) on a gentle cycle.
- Use mild detergent, no bleach or fabric softener.
- Tumble dry low or hang dry.
- Iron inside out, avoiding direct heat on the print.
Following these steps, my DTF prints have lasted over 50 washes with minimal fading.
Frequently Asked Questions
Can I use DTF on 100% polyester?
Yes, DTF works well on polyester, but you may need to lower the heat press temperature to 300°F (150°C) to avoid dye migration. Also, use a lower pressure to prevent the fabric from scorching.
How long does a DTF transfer last?
With proper application and care, a DTF transfer can last as long as the garment itself, often 50+ washes. The key is correct curing and washing inside out.
Do I need a special printer for DTF?
You can convert an Epson printer with DTF inks and a RIP software, or buy a dedicated DTF printer. Dedicated printers are more reliable but cost more. For beginners, a converted printer is a good start.
What is the difference between DTF and DTG?
DTF transfers can be applied to many fabrics, while DTG prints directly onto cotton. DTF requires a transfer step but offers more versatility and often more vibrant colors on dark shirts.
Can I stretch a DTF print?
DTF transfers have some elasticity, but excessive stretching can cause cracking. For stretchy fabrics like spandex, use a transfer with a stretchable adhesive powder.
Mastering DTF printing takes practice, but the results are worth it. Whether you're starting a clothing brand or making custom gifts, DTF offers a level of quality and flexibility that's hard to beat. So, fire up your printer and start creating!