
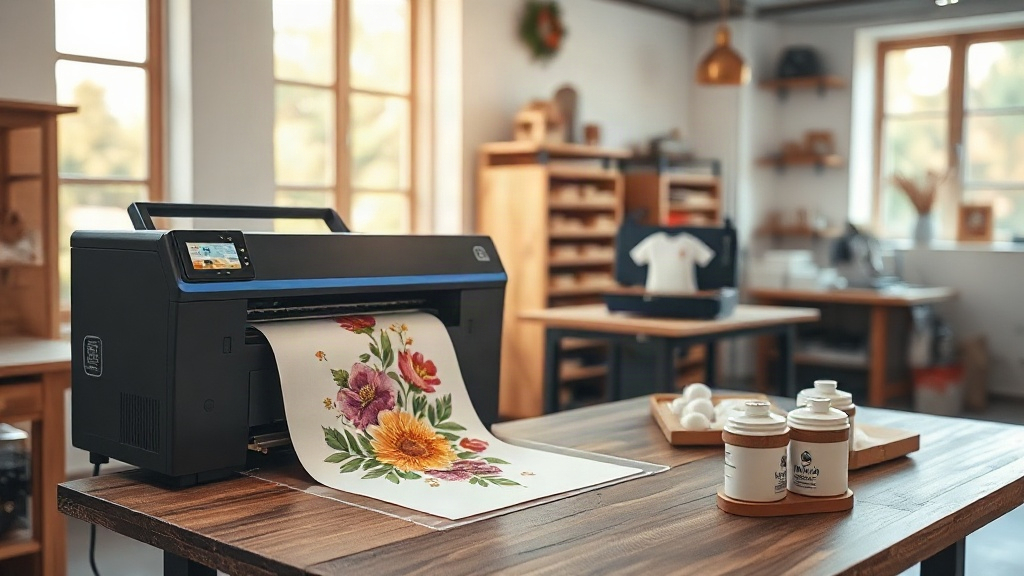
If you've been exploring custom apparel, you've likely encountered DTF printing. Short for Direct to Film, this method is quickly becoming a favorite among hobbyists and professionals alike. Unlike traditional techniques, DTF offers unmatched versatility, allowing you to print full-color designs on a wide range of fabrics with ease. In this guide, we'll walk you through the essentials of DTF printing, from the basic process to practical tips for stunning results.
What Exactly Is DTF Printing?
DTF printing is a digital printing method where your design is printed onto a special film, coated with adhesive powder, and then heat-pressed onto the fabric. This process eliminates the need for cutting or weeding, making it incredibly efficient for complex designs. The magic lies in the transfer film: it holds the ink and adhesive, which bond to the fabric under heat and pressure. Whether you're working with cotton, polyester, or blends, DTF can handle it all.
Why Choose DTF Over Other Printing Methods?
You might wonder how DTF stacks up against screen printing or vinyl. Here's why many are making the switch:
- No color limitations: Unlike vinyl, DTF can reproduce gradients, photographs, and intricate details without extra cost.
- Fabric flexibility: It adheres well to cotton, polyester, blends, and even treated nylon, giving you freedom in material choice.
- Durability: When applied correctly, DTF prints withstand repeated washing without cracking or fading.
- Cost-effective for small batches: No setup fees or minimums, making it ideal for one-offs or small runs.
The DTF Printing Process Step by Step
Getting started with DTF is straightforward once you understand the workflow. Here's a breakdown:
1. Design Preparation
Create your artwork in a graphic design program. Remember to mirror the image horizontally before printing, as the film will be flipped during transfer. Ensure your design is high-resolution for crisp output.
2. Printing onto Film
Load your DTF film into a compatible printer (often a modified inkjet or dedicated DTF printer). Use pigment-based inks designed for DTF. Print the mirrored design onto the film's coated side.
3. Applying Adhesive Powder
While the ink is still wet, sprinkle hot-melt adhesive powder evenly over the printed area. Shake off excess, then cure the film under a heat source (like a heat press or oven) until the powder melts and becomes glossy. This step is crucial for bonding.
4. Heat Press Transfer
Set your heat press to the recommended temperature (usually 300-350°F) and pressure. Place the film onto your fabric with the design facing up, and press for 10-15 seconds. Let it cool slightly before peeling off the film. For a softer feel, you can press again with a protective sheet.
Essential Supplies for DTF Printing
To dive into DTF, gather these items:
- DTF printer: Options range from converted Epson models to dedicated DTF printers.
- DTF film: Available in rolls or sheets; choose a quality brand for consistent results.
- DTF ink: Pigment inks formulated for DTF ensure vibrant colors and durability.
- Adhesive powder: Hot-melt powder specifically for DTF; fine or medium grain works.
- Heat press: A reliable press with accurate temperature control is key.
- Design software: Any vector or raster program like Photoshop or Illustrator.
Common Challenges and How to Overcome Them
Even with the right setup, you might encounter hiccups. Here are solutions to typical DTF issues:
- Faded or dull colors: Ensure your printer settings are correct and use high-quality ink. Sometimes, increasing ink saturation helps.
- Poor adhesion: Check that the adhesive powder is evenly applied and fully melted. Also, verify your heat press temperature and pressure.
- Cracking after washing: This often indicates under-curing. Increase pressing time or temperature slightly, and always follow wash care instructions.
- Film curling: Store film flat in a cool, dry place to prevent curling, which can cause printing errors.
Tips for Vibrant, Long-Lasting Prints
To get the most out of your DTF prints, keep these best practices in mind:
- Pre-press your garment to remove moisture and wrinkles.
- Use a lint roller to remove any debris before transferring.
- Adjust pressure evenly across the platen for consistent adhesion.
- Allow prints to cool completely before peeling for a matte finish, or peel hot for a glossy look.
- Wash garments inside out in cold water and tumble dry low to prolong life.
Frequently Asked Questions About DTF Printing
Can I use DTF on dark and light fabrics?
Absolutely. DTF works on both dark and light fabrics. The white ink layer in DTF printing ensures colors pop on dark materials, while on light fabrics, you might use less white ink for a softer feel.
How durable is DTF printing compared to screen printing?
When properly applied, DTF prints are highly durable and can withstand dozens of washes. Screen printing may have a slight edge in extreme industrial laundering, but for typical apparel, DTF holds up excellently.
Do I need a special printer for DTF?
You can convert certain inkjet printers (like Epson) with DTF ink and film, but dedicated DTF printers offer better reliability and output. If you're serious, invest in a dedicated machine.
What fabrics are not suitable for DTF?
DTF adheres well to most fabrics, but it may not work on highly textured or coated materials like nylon or waterproof jackets. Always test on a swatch first.
How do I store DTF film and prints?
Keep unprinted film in its original packaging, away from moisture and direct sunlight. Printed but uncured film should be used promptly; cured transfers can be stored in a cool, dry place for weeks.
With its flexibility and vibrant results, DTF printing opens up a world of creative possibilities. Whether you're a small business owner or a DIY enthusiast, mastering DTF can elevate your custom apparel game. Remember, practice makes perfect, so don't hesitate to experiment and refine your technique.