
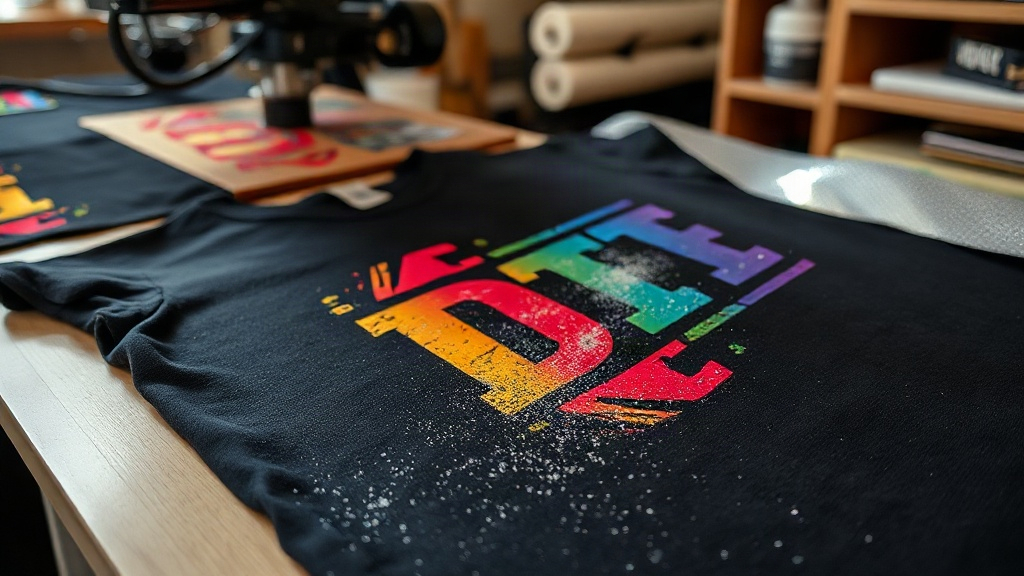
When you first dive into DTF printing, the appeal is obvious: print a design on film, cover it with powder, and press it onto almost any fabric. No weeding, no color limitations, and no need for specialty garments. But as anyone who has pulled a wrinkled, cracked transfer off a shirt knows, the difference between a professional-looking result and a mess often comes down to small details. This guide walks you through the entire process, from preparing your artwork to troubleshooting common issues, so you can produce consistent, retail-quality transfers.
What Is DTF Printing and Why It Matters
DTF stands for Direct to Film. Unlike DTG (Direct to Garment), which prints directly onto the fabric, DTF printing involves printing your design onto a special PET film using a modified inkjet printer with pigment inks. While the ink is still wet, a fine layer of hot-melt adhesive powder is applied, then cured. The result is a flexible, stretchable transfer that can be heat-pressed onto cotton, polyester, blends, and even treated nylon. Because the design sits on top of the fabric rather than soaking in, colors stay bright and opaque, even on dark garments.
This versatility has made DTF a favorite for small businesses, crafters, and print shops that want to offer custom apparel without investing in screen setups or multiple ink sets. Whether you're printing one-off designs or small batches, the process is efficient and cost-effective once you understand the variables.
Preparing Your Artwork for DTF
Great transfers start with great files. DTF printing handles gradients, fine lines, and photographic images well, but only if your file is prepared correctly. Here are the key steps:
- Resolution: Use 300 DPI at the final print size. Lower resolution leads to pixelated edges and muddy details.
- Color Mode: Work in RGB. DTF printers use RGB profiles, and converting from CMYK can shift colors unpredictably.
- Background: Remove the background completely. DTF film is transparent, so any stray pixels will show up in the final transfer.
- White Layer: If your design has light colors or will go on a dark shirt, you'll need a white ink base. Most RIP software handles this automatically, but always preview the white layer to ensure it covers the colored areas properly without bleeding.
Once your file is ready, print it onto DTF film. The film has a coated side and a non-coated side; printing on the wrong side will ruin the transfer. Usually, the coated side is slightly matte or has a logo. If you're unsure, run a test print on a small piece.
The Powder and Curing Stage
After printing, while the ink is still wet, sprinkle hot-melt adhesive powder evenly over the design. Shake off the excess and return it to the container for reuse. The powder should stick only to the wet ink. If you see powder clinging to the clear areas, you've either applied too much or the ink was too dry. Work quickly but carefully.
Next, cure the powder. You can use a heat press, a conveyor dryer, or even a dedicated curing oven. The goal is to melt the powder into a smooth, slightly glossy layer. Typical settings are 320°F (160°C) for 2-3 minutes in an oven, or a few seconds under a heat press with light pressure. Overcuring can make the transfer brittle; undercuring leaves the powder grainy and the transfer won't adhere properly. Invest in a laser thermometer to verify your actual temperatures, as press readouts can be off by 20 degrees or more.
Heat Pressing the Transfer
Now comes the moment of truth. Set your heat press to 320°F (160°C) with medium pressure. Place the garment on the lower platen, pre-press for 5-10 seconds to remove moisture and wrinkles. Let it cool slightly, then position the DTF transfer with the design facing up. Cover it with a Teflon sheet or parchment paper. Press for 10-15 seconds. For best results, peel the film while it's still warm, but not hot. If you wait until it's cold, the adhesive may bond too strongly and tear the edges. If you peel too hot, the design can stretch or shift. Practice on scrap fabric to find the sweet spot.
After peeling, press the design again for 5-10 seconds with a Teflon sheet to fully set the adhesive and improve wash durability. This second press is often overlooked but makes a noticeable difference.
Common Problems and How to Fix Them
Even with careful technique, issues can arise. Here's a quick troubleshooting guide:
- Cracking or flaking: Usually caused by undercuring the powder or insufficient pressure during the transfer. Increase curing time or pressure.
- Dull colors: The white layer may be too thin, or the transfer was pressed at too high a temperature, scorching the ink. Check your white ink settings and lower the press temperature slightly.
- Transfer not sticking: The garment may have a water-repellent coating, or the powder wasn't fully melted. Pre-press the garment longer and verify curing.
- Powder sticking to clear film: You applied too much powder or the ink dried before powdering. Work faster and use a powder shaker for even distribution.
Keeping a log of settings for each garment type and film brand helps you dial in your process and repeat successes.
Choosing the Right Supplies
Not all DTF films and powders are created equal. Cheaper films may curl or leave residue, while low-quality powder can clump or produce a rough finish. Look for films that specify compatibility with your printer's ink set, and powders with a consistent particle size. Many professionals prefer films with a matte coating for better ink adhesion and a smooth peel. Also, consider the garment: 100% cotton takes transfers beautifully, but high-polyester blends may require lower pressing temperatures to avoid dye migration. Using a low-bleed powder can help with polyester, but always test first.
Scaling Up: Tips for Production
If you're moving from hobbyist to production, organization is key. Print multiple designs in one run to maximize film usage, but leave at least half an inch between them for easy cutting. Pre-powder and cure a batch of transfers, then store them in a dry, dust-free container. When pressing, use a jig or template to position designs consistently. And don't skip the quality check: pull one transfer from each batch and stretch it to ensure flexibility. A little extra effort upfront saves time and materials later.
Frequently Asked Questions
Can I use DTF printing on 100% polyester?
Yes, but polyester requires lower pressing temperatures to prevent dye migration. Use a low-bleed powder and press at 280-300°F (140-150°C). Always test on a scrap piece first.
How do I store unused DTF transfers?
Keep them in a cool, dry place away from direct sunlight. Place them between sheets of parchment paper to prevent sticking. Properly stored transfers can last for months.
What's the difference between DTF and DTG?
DTF transfers are printed on film and then applied, while DTG prints directly onto the garment. DTF works on more fabric types and produces more vibrant colors on dark shirts, but DTG can be faster for single-piece cotton prints.
Do I need a special printer for DTF?
You can convert many inkjet printers to DTF with a DTF ink system and RIP software. However, dedicated DTF printers are available and often yield better reliability and color consistency.
How durable are DTF transfers?
When applied correctly, DTF transfers can withstand 50+ washes without fading or cracking. Turn garments inside out and wash in cold water to extend their life.