
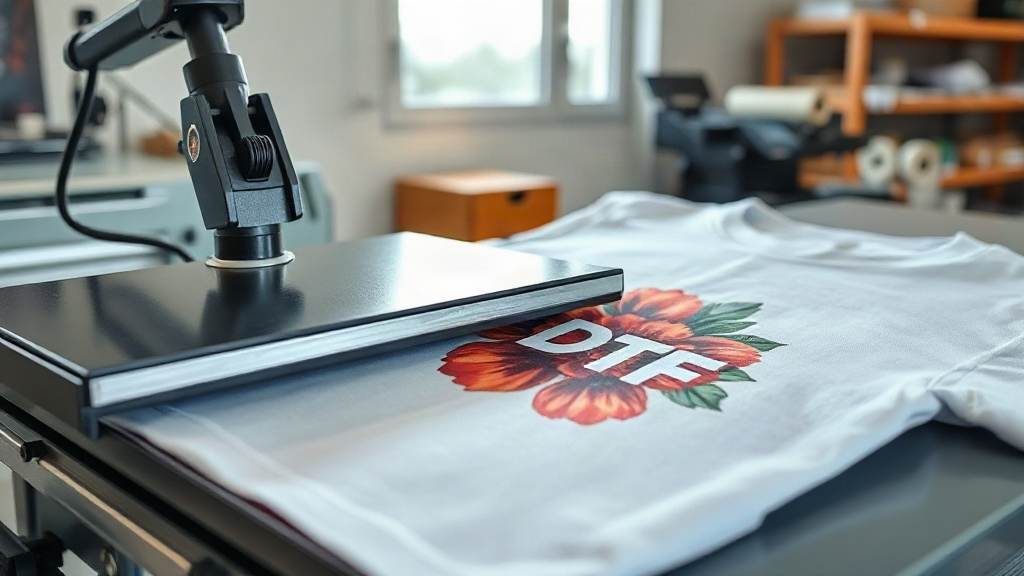
If you've been exploring custom apparel printing, you've likely encountered DTF Transfers. Short for Direct-to-Film, this technology has quickly become a favorite among hobbyists and professionals alike for its versatility and vibrant results. Unlike traditional methods that require specific fabrics or extensive setup, DTF Transfers open up a world of possibilities for creating custom t-shirts, hoodies, tote bags, and more. In this guide, we'll walk you through everything you need to know about DTF printing, from the basics to pro tips, so you can achieve stunning, long-lasting prints.
What Are DTF Transfers?
DTF printing is a digital printing method where your design is printed onto a special film, coated with a powdered adhesive, and then heat-pressed onto your garment. The process involves a few key steps: first, a printer deposits CMYK inks and white ink onto a PET film. Then, a shaking machine applies a thermoplastic powder to the wet ink. After curing the powder with heat, the transfer is ready to be pressed onto fabric. This method differs from DTG (Direct-to-Garment) or screen printing because it doesn't require pre-treatment or specialized fabrics. You can apply DTF Transfers to cotton, polyester, blends, and even nylon, making it incredibly versatile.
One of the biggest advantages of DTF Transfers is the ability to produce full-color designs with fine details and gradients without the need for multiple screens or color separation. The white ink layer ensures that colors pop on both light and dark garments, and the result is a soft, stretchable print that moves with the fabric.
Why Choose DTF Transfers Over Other Methods?
When you compare DTF Transfers to other decoration techniques, several benefits stand out:
- No fabric restrictions: Works on cotton, polyester, blends, and even treated nylon.
- No color limitations: Full-color designs with gradients and photographic details are possible.
- No minimums: Perfect for one-off custom pieces or small batches.
- Durability: When applied correctly, DTF prints withstand repeated washing without cracking or fading.
- Soft feel: The prints are thin and flexible, unlike some heavy plastisol transfers.
For small businesses and crafters, DTF printing eliminates the need for expensive equipment like screen burning or DTG pre-treatment machines. A decent DTF printer and a heat press are all you need to get started.
How to Apply DTF Transfers: Step-by-Step
Applying DTF Transfers is straightforward, but following the correct steps ensures a professional finish. Here's what you need to do:
1. Prepare Your Workspace
Set up your heat press on a sturdy surface. Ensure it's clean and free of dust. You'll also need a lint roller or cloth to remove any debris from your garment.
2. Pre-Press the Garment
Pre-press the garment for a few seconds to remove moisture and wrinkles. This step is crucial for a smooth application. Set your heat press to the recommended temperature (usually around 300-325°F or 150-160°C) and medium pressure.
3. Position the Transfer
Place the DTF Transfer onto the garment with the printed side facing up. If your transfer has a white backing, that side goes against the fabric. Use heat-resistant tape if needed to keep it in place.
4. Press the Transfer
Press for 10-15 seconds (follow your transfer supplier's instructions). The powder adhesive will melt and bond with the fabric.
5. Peel the Film
After pressing, wait a few seconds for the transfer to cool slightly. Then, peel the film off in a smooth, consistent motion. If you peel too soon, the print may stretch; if you wait too long, it might crack. A warm peel is often recommended for DTF.
6. Post-Press for Durability
For extra durability, cover the print with a Teflon sheet or parchment paper and press again for 5-10 seconds. This ensures the adhesive fully cures.
Common Mistakes to Avoid with DTF Transfers
Even though DTF printing is forgiving, some pitfalls can ruin your results. Watch out for these:
- Insufficient pressure: If the pressure is too low, the transfer won't adhere properly, leading to peeling.
- Wrong temperature: Too hot and the film may melt or the print may scorch; too cold and the adhesive won't activate.
- Peeling too fast: Yanking the film can distort the design. Peel slowly and steadily.
- Not pre-pressing: Moisture in the fabric can cause the transfer to lift.
- Using the wrong side of the film: Always check which side is printed. The dull side is usually the print side.
By avoiding these mistakes, you'll get consistent, professional-looking results every time.
DTF Transfers vs. Other Printing Methods
How does DTF stack up against DTG, screen printing, and vinyl? Let's compare:
- DTG: Best for 100% cotton, but requires pre-treatment and can be costly for small runs. DTF works on more fabrics and has lower setup costs.
- Screen Printing: Great for large orders of simple designs, but expensive for multi-color or small batches. DTF excels at detailed, full-color prints on demand.
- Heat Transfer Vinyl (HTV): Good for simple text and shapes, but limited in color and detail. DTF can reproduce complex images with gradients.
For businesses that need flexibility and high-quality results without a huge investment, DTF Transfers are often the best choice.
Tips for Long-Lasting DTF Prints
To ensure your DTF prints survive many washes, follow these care tips:
- Wait 24 hours before washing the garment.
- Turn the garment inside out before washing.
- Use cold water and mild detergent.
- Avoid fabric softeners and bleach.
- Tumble dry on low or hang dry.
- Do not iron directly on the print.
With proper care, your DTF prints can last as long as the garment itself.
Frequently Asked Questions About DTF Transfers
What fabrics can I use with DTF transfers?
DTF transfers adhere to a wide range of fabrics, including cotton, polyester, cotton-poly blends, nylon, and even leather. However, fabrics with a rough texture or heavy coating may not yield the best results. For best adhesion, choose smooth, clean fabrics.
How do I store unused DTF transfers?
Store them in a cool, dry place away from direct sunlight. Keep them in a sealed bag or container to prevent dust and moisture. Properly stored transfers can last for several months.
Can I stretch DTF prints?
Yes, DTF prints are flexible and can stretch with the fabric without cracking, as long as they are applied correctly and the garment is not overstretched. The print may appear slightly lighter when stretched but will return to normal.
Do I need a special printer for DTF transfers?
You need a DTF printer that uses DTF inks and can print white ink. Some people convert Epson printers for DTF use, but dedicated DTF printers are recommended for consistent results.
How long does the DTF transfer process take?
The entire process, from printing to pressing, can take about 10-15 minutes per transfer, depending on the printer and heat press. The actual pressing time is only 10-15 seconds, but cooling and peeling add a bit more.
With this guide, you're well on your way to mastering DTF Transfers. Whether you're a hobbyist or a business owner, this technology offers incredible potential for custom apparel. Experiment, practice, and enjoy the vibrant, durable results.